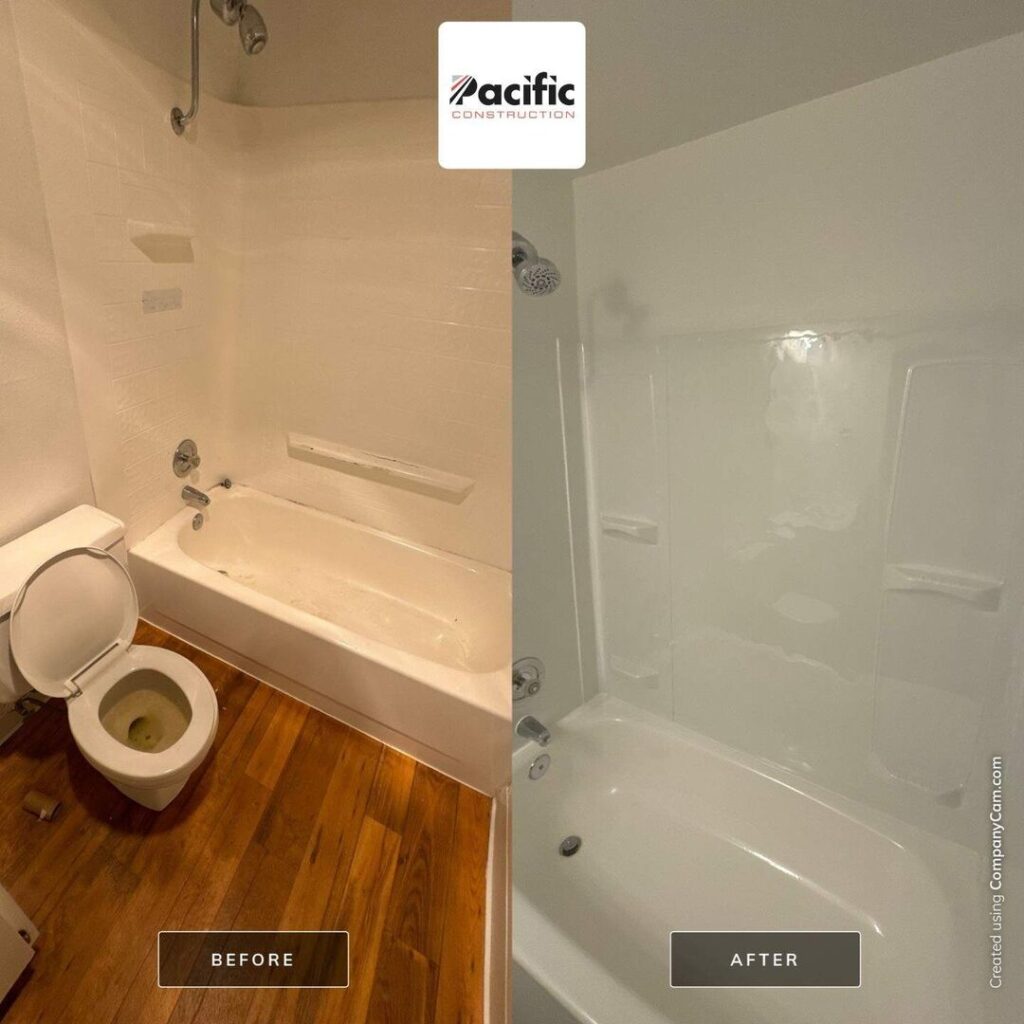
We take pride in every project, big or small. Recently, we completed a full shower enclosure replacement for a client, turning an outdated and compromised space into a modern, safe, and stylish bathroom feature. Here’s a detailed look at the step-by-step process that made this transformation possible.
Step 1: Demo & Remediation
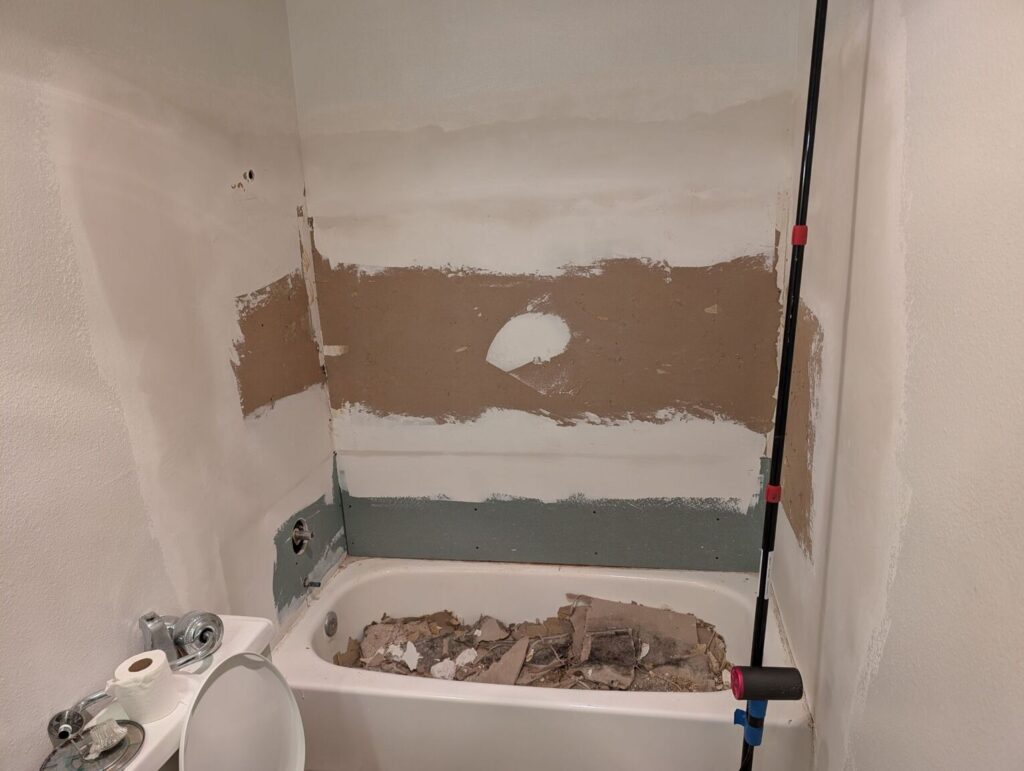
Every successful renovation begins with a thorough and careful demolition. In this case, removing the old shower enclosure revealed more than just wear and tear—it exposed structural rot hidden behind the walls. Structural rot can lead to significant issues if left unaddressed, so remediation was our top priority.
What We Did:
- Removed the outdated shower enclosure with precision to avoid damage to the surrounding area.
- Identified areas of structural damage caused by prolonged water exposure.
- Conducted a full remediation process to:
- Restore the foundation to its original strength.
- Address underlying issues to prevent future problems, such as water damage or mold growth.
- Reinforced the foundation, ensuring a safe and durable base for the new enclosure.
This essential step laid the groundwork for a long-lasting and secure shower space.
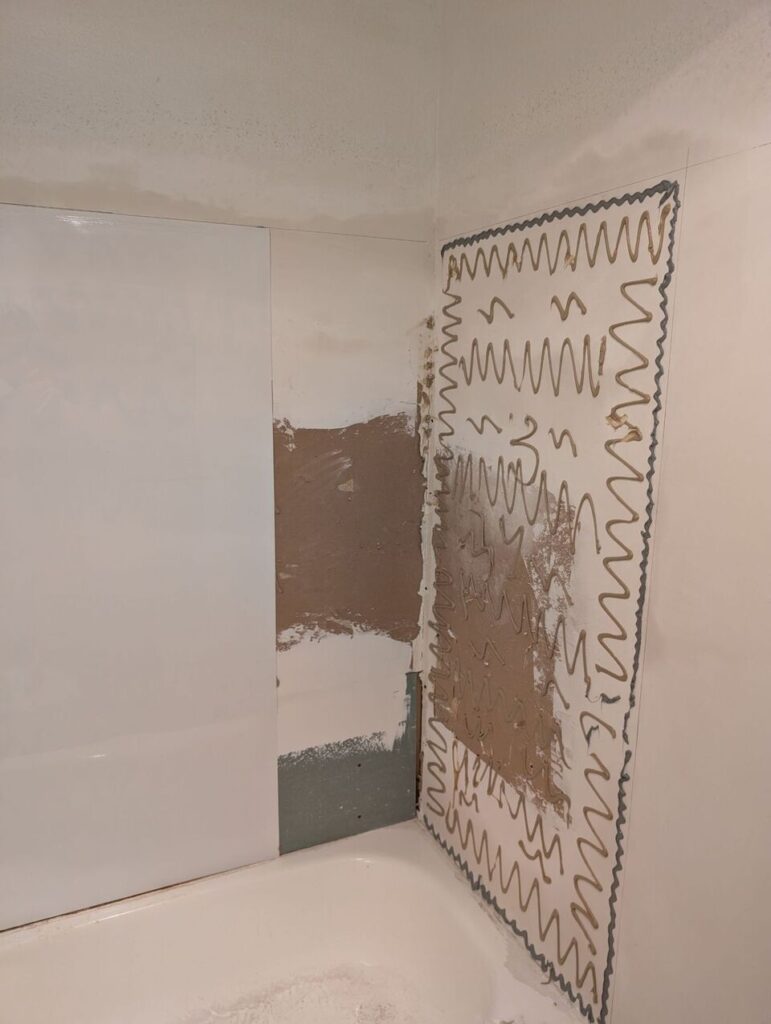
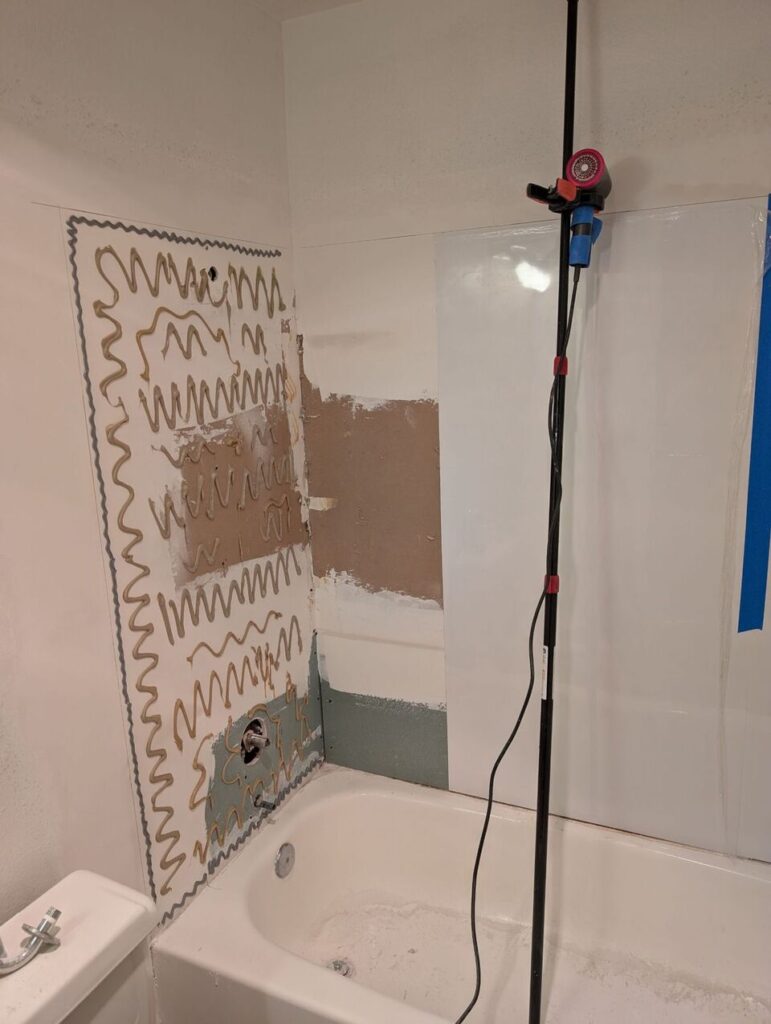
Step 2: Installing the New Surround
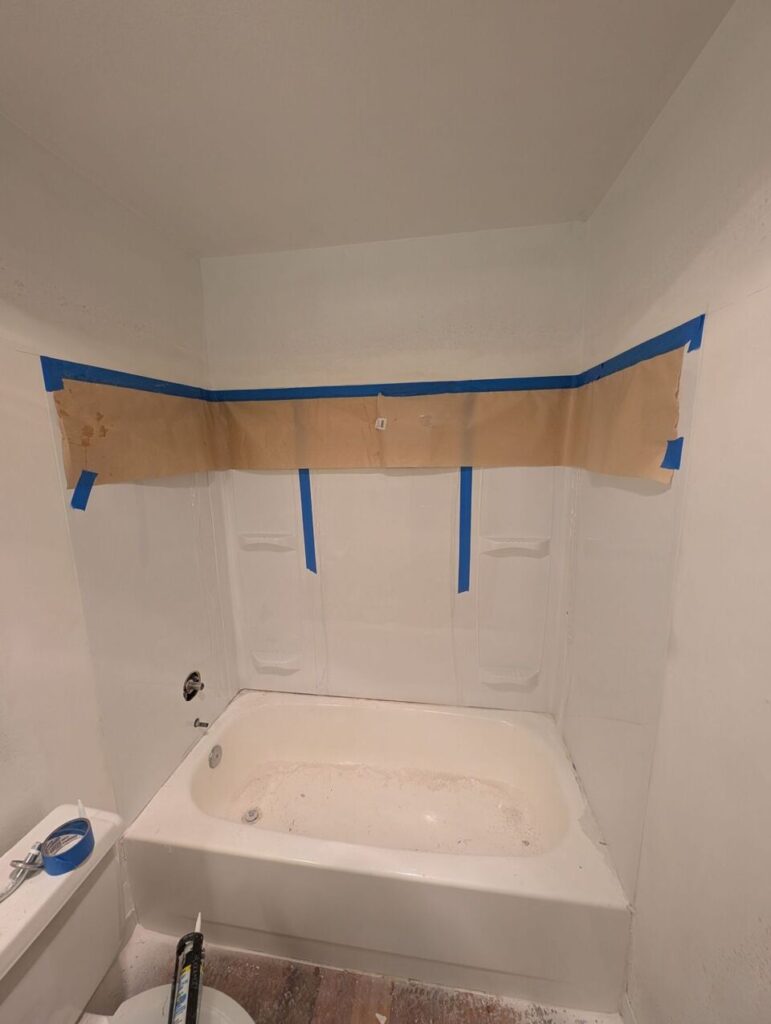
With a strong foundation in place, it was time to bring the client’s vision to life by installing a brand-new shower surround. This phase focused on blending functionality and style, giving the bathroom a modern and durable upgrade.
What We Did:
- Selected a surround design that met the client’s preferences for both aesthetics and durability.
- Installed the surround with meticulous attention to detail, ensuring a perfect fit and seal.
- Used high-quality materials designed to withstand daily use and maintain their appearance over time.
- Checked for proper alignment and a seamless finish to ensure both beauty and functionality.
The result was a stunning centerpiece for the bathroom that promises to stand the test of time.
Step 3: Drywall Repair, Texture & Prep
Once the new surround was installed, we turned our focus to the surrounding walls. Years of use had taken a toll on the drywall, making repair and preparation a key part of the process.
What We Did:
- Repaired damaged drywall to create a smooth, even surface.
- Applied a custom texture to ensure the repaired areas blended perfectly with the rest of the room.
- Prepped the walls meticulously for painting, ensuring a flawless final finish.
This step ensured the entire bathroom felt cohesive, setting the stage for the finishing touches.
Step 4: Finish Paint
The final step in the project was to bring everything together with a fresh coat of paint. A carefully chosen paint color can transform a room, and in this case, it added the perfect finishing touch.
What We Did:
- Worked with the client to select a paint color that complemented the new shower and overall bathroom design.
- Applied multiple coats for a rich, even finish.
- Ensured all edges and transitions were clean and professional.
This finishing step tied the entire space together, creating a bathroom that feels brand new, bright, and inviting.
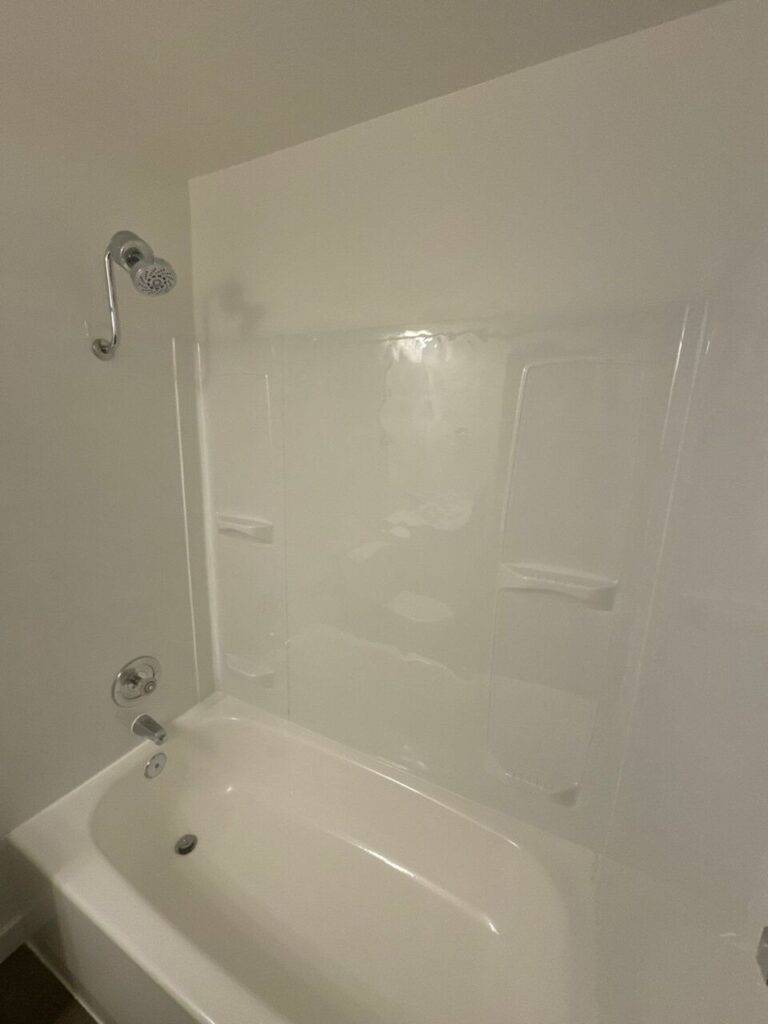
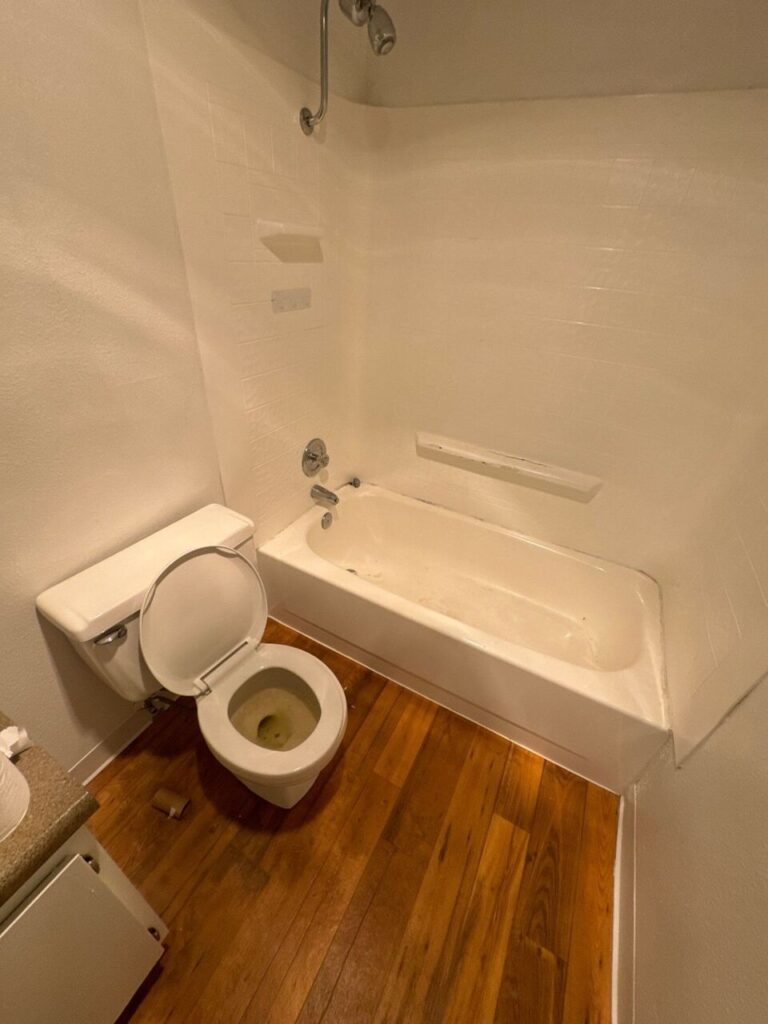
This project wasn’t just about replacing a shower—it was about solving problems, enhancing safety, and delivering a stylish, modern upgrade. From addressing hidden structural issues to crafting a polished final look, we transformed a compromised area into a space the client can truly enjoy.
Whether it’s a bathroom renovation, kitchen remodel, or a larger construction project, Pacific Construction is here to bring your vision to life. We handle every project with care, expertise, and attention to detail, ensuring results you’ll love.
Contact us today to start your transformation. Let’s build something great together!
